Maya Spring Assessment - Character Modelling (part 3) (getting aHead of the game)
Just a heads up (I'm sorry), this is the finale to the model being completed, afterwhich the UV unwrapping and texturing can be done to complete the model.
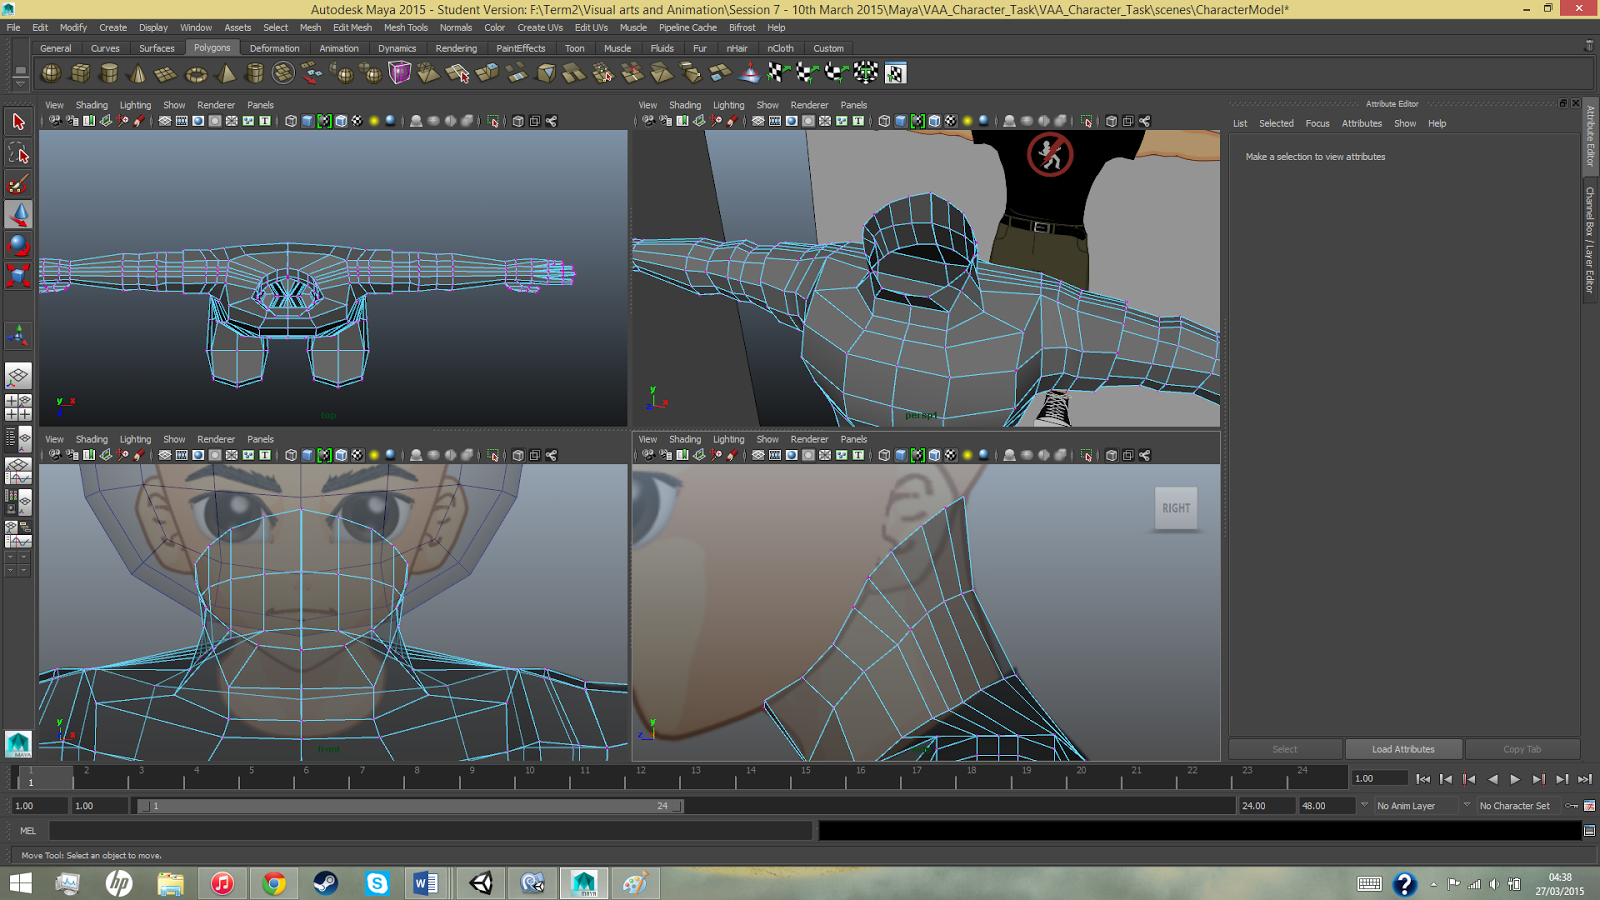
Following robin's advice, i made a seperate cube and subdivided it, which as he said gave a nice start for the head, having a nice geometry and topography on the surface.


Going from that to the rest of my model, i started extruding the neckline of the model, making sure to line it up so the head would sit on the neck, much like it does in the body.

Just putting the head on top gives some kind of completeness to the model, as it's the only missing part to go.

This is where the implementation of this cube gets...rocky. first i delete half of the face and some of the bottom faces, and prepare the vertices for the objects to be merged.
Then it's a matter of lining up some of the topography on the face to match up with the reference image.

What stumped me for a little bit was that you had to select both objects and use the Combine tool in the mesh column, which allows you to merge vertices and such on the pieces (almost thought the program was bugged) (this does also delete the other side of the model)

With the head connected its now just adjust vertices to capture the head shape in the reference image.


When one side is all set and ready to go the only matter left is to duplicate the object so we have the two halves again and then combine these two objects and link their vertices so that we have one complete joined model.


.jpg)


Comments
Post a Comment